Boss
Fights
Every boss fight broken down phase by phase — move sets, weak points, loadout recommendations, and the common mistakes that cost you a run.
Boss Roster
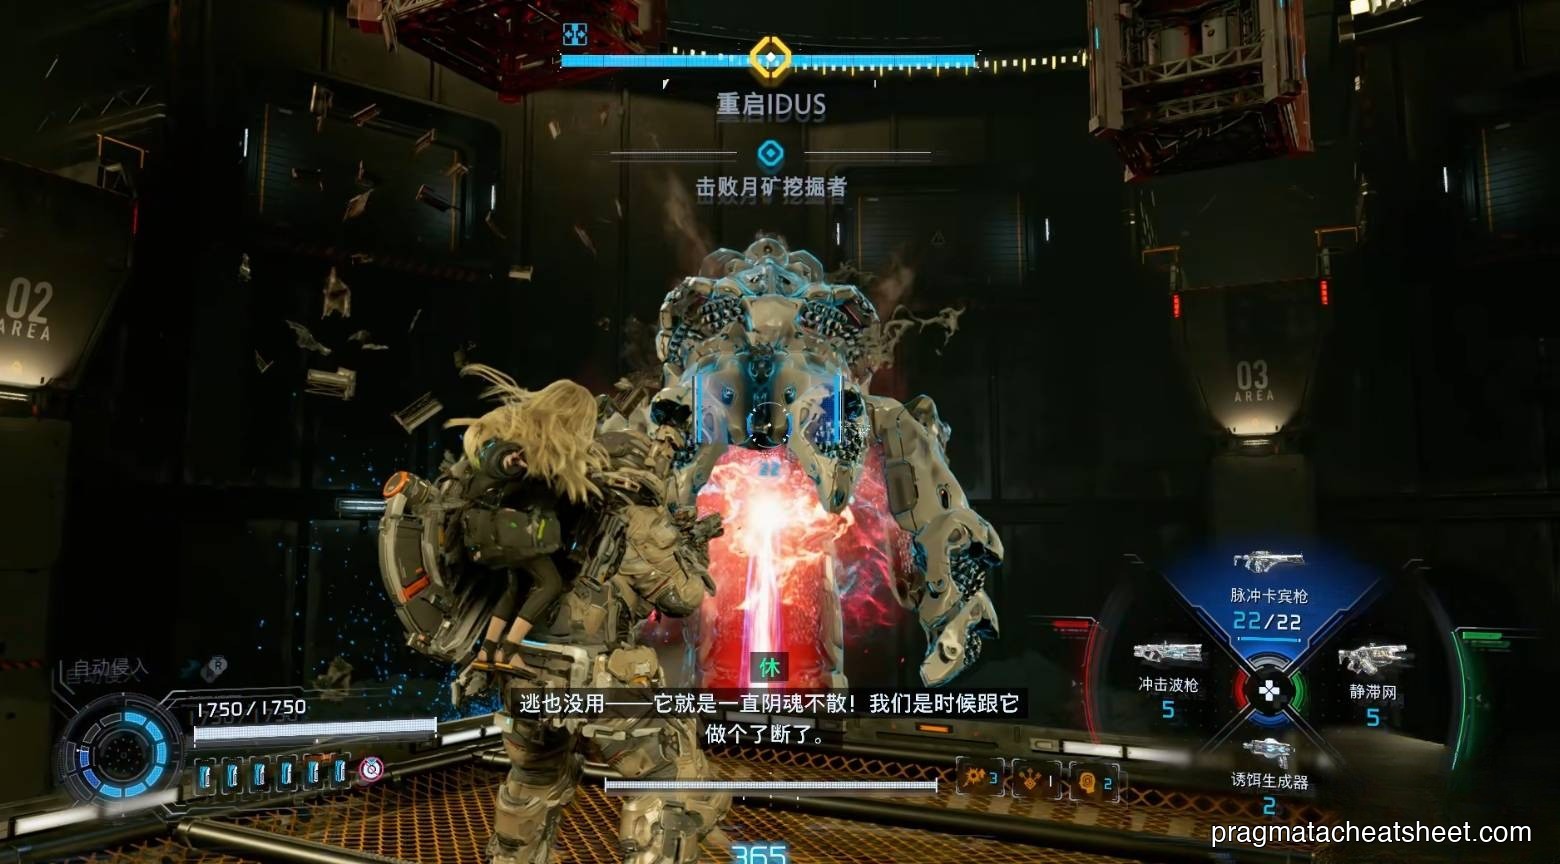
Sector Guard (IDUS)
How to beat Pragmata's first boss — phase-by-phase breakdown of the Sector Guard (IDUS) fight at the top of Solar Power Plant.
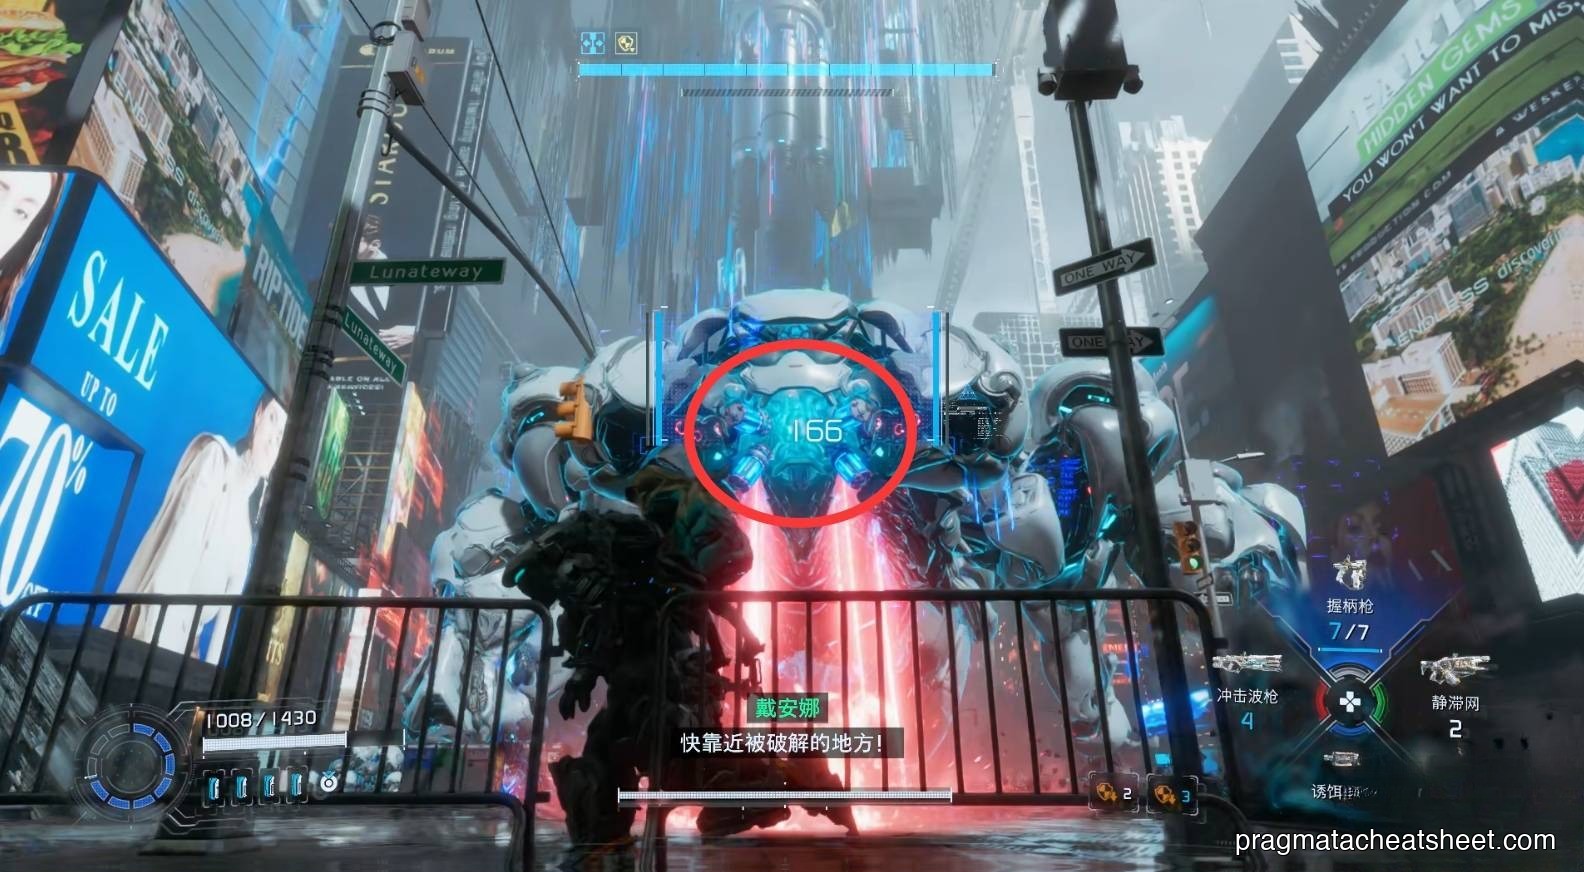
Analysis: Creator
Full Analysis: Creator boss guide for Pragmata — barrier limbs, laser sweeps, and the platform-rail finisher at the top of the Mass Production Array.

Large Bot (Garden Warden)
Garden Warden boss guide for Pragmata — tail sweeps, laser columns, and the hack-the-bomb counterplay at the top of Terra Dome.
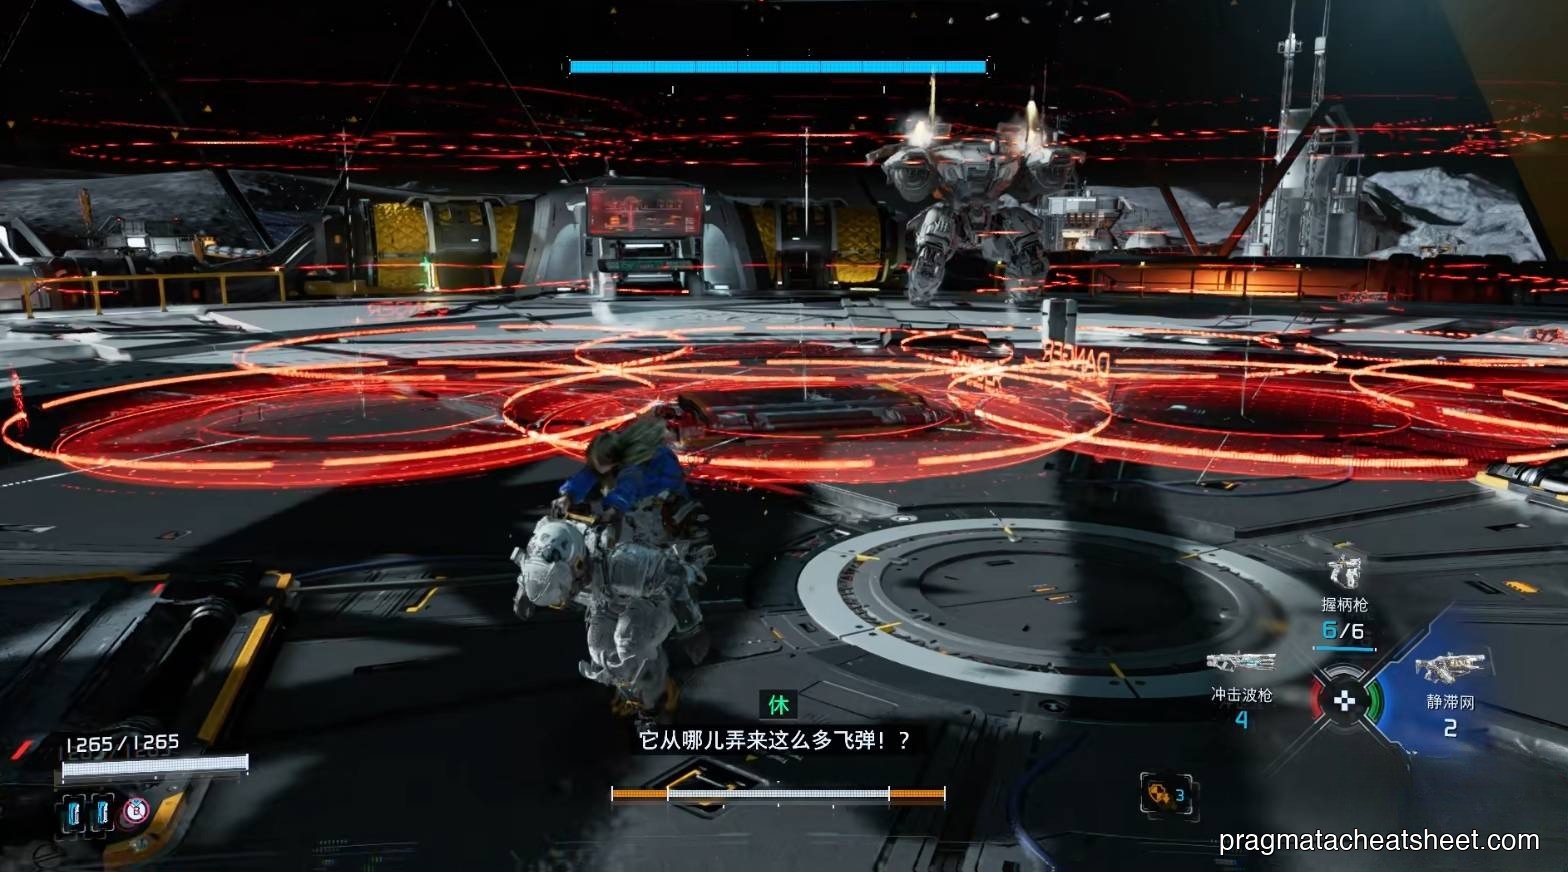
Luna Digger
Luna Digger boss guide for Pragmata — rail platforms, mouth laser sweeps, and the turret-swarm Phase 2 at the bottom of the Lunum Mines.
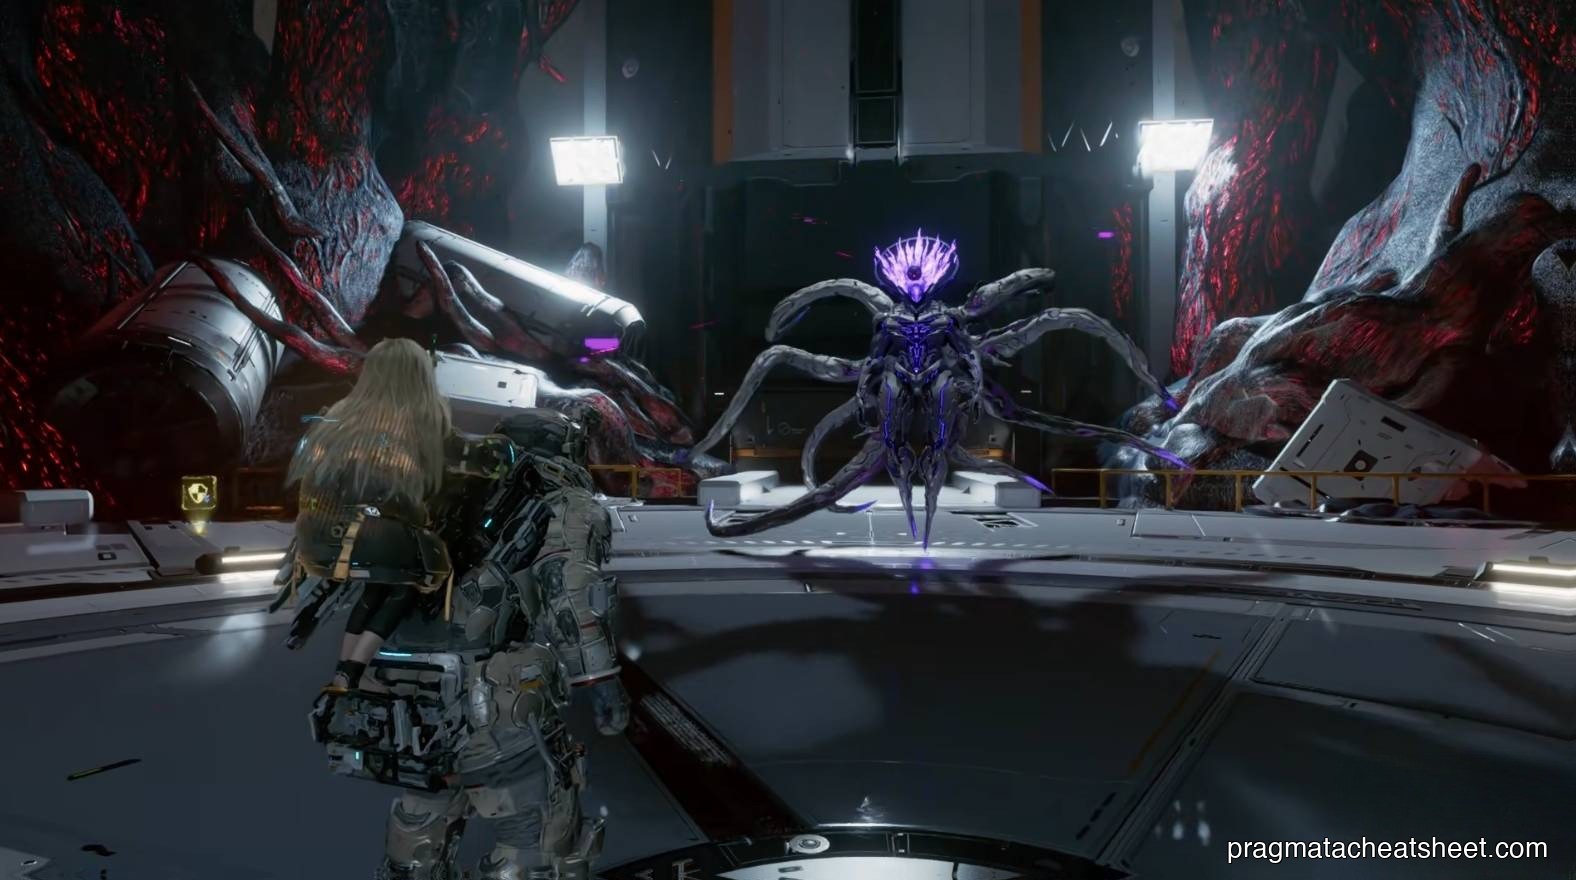
Final Boss
How to beat Pragmata's final boss — Cleanse, Stasis Net, the grid-hacking puzzle, and the chase-sequence finish at the top of the Space Elevator.