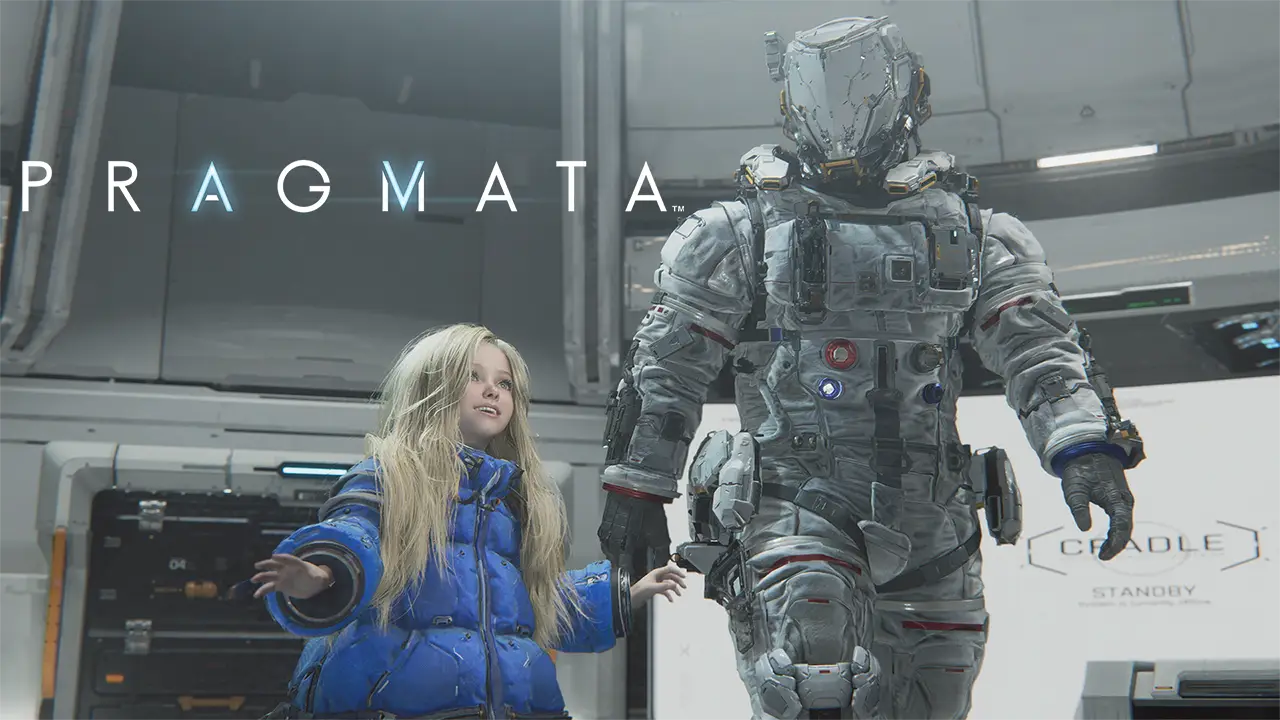
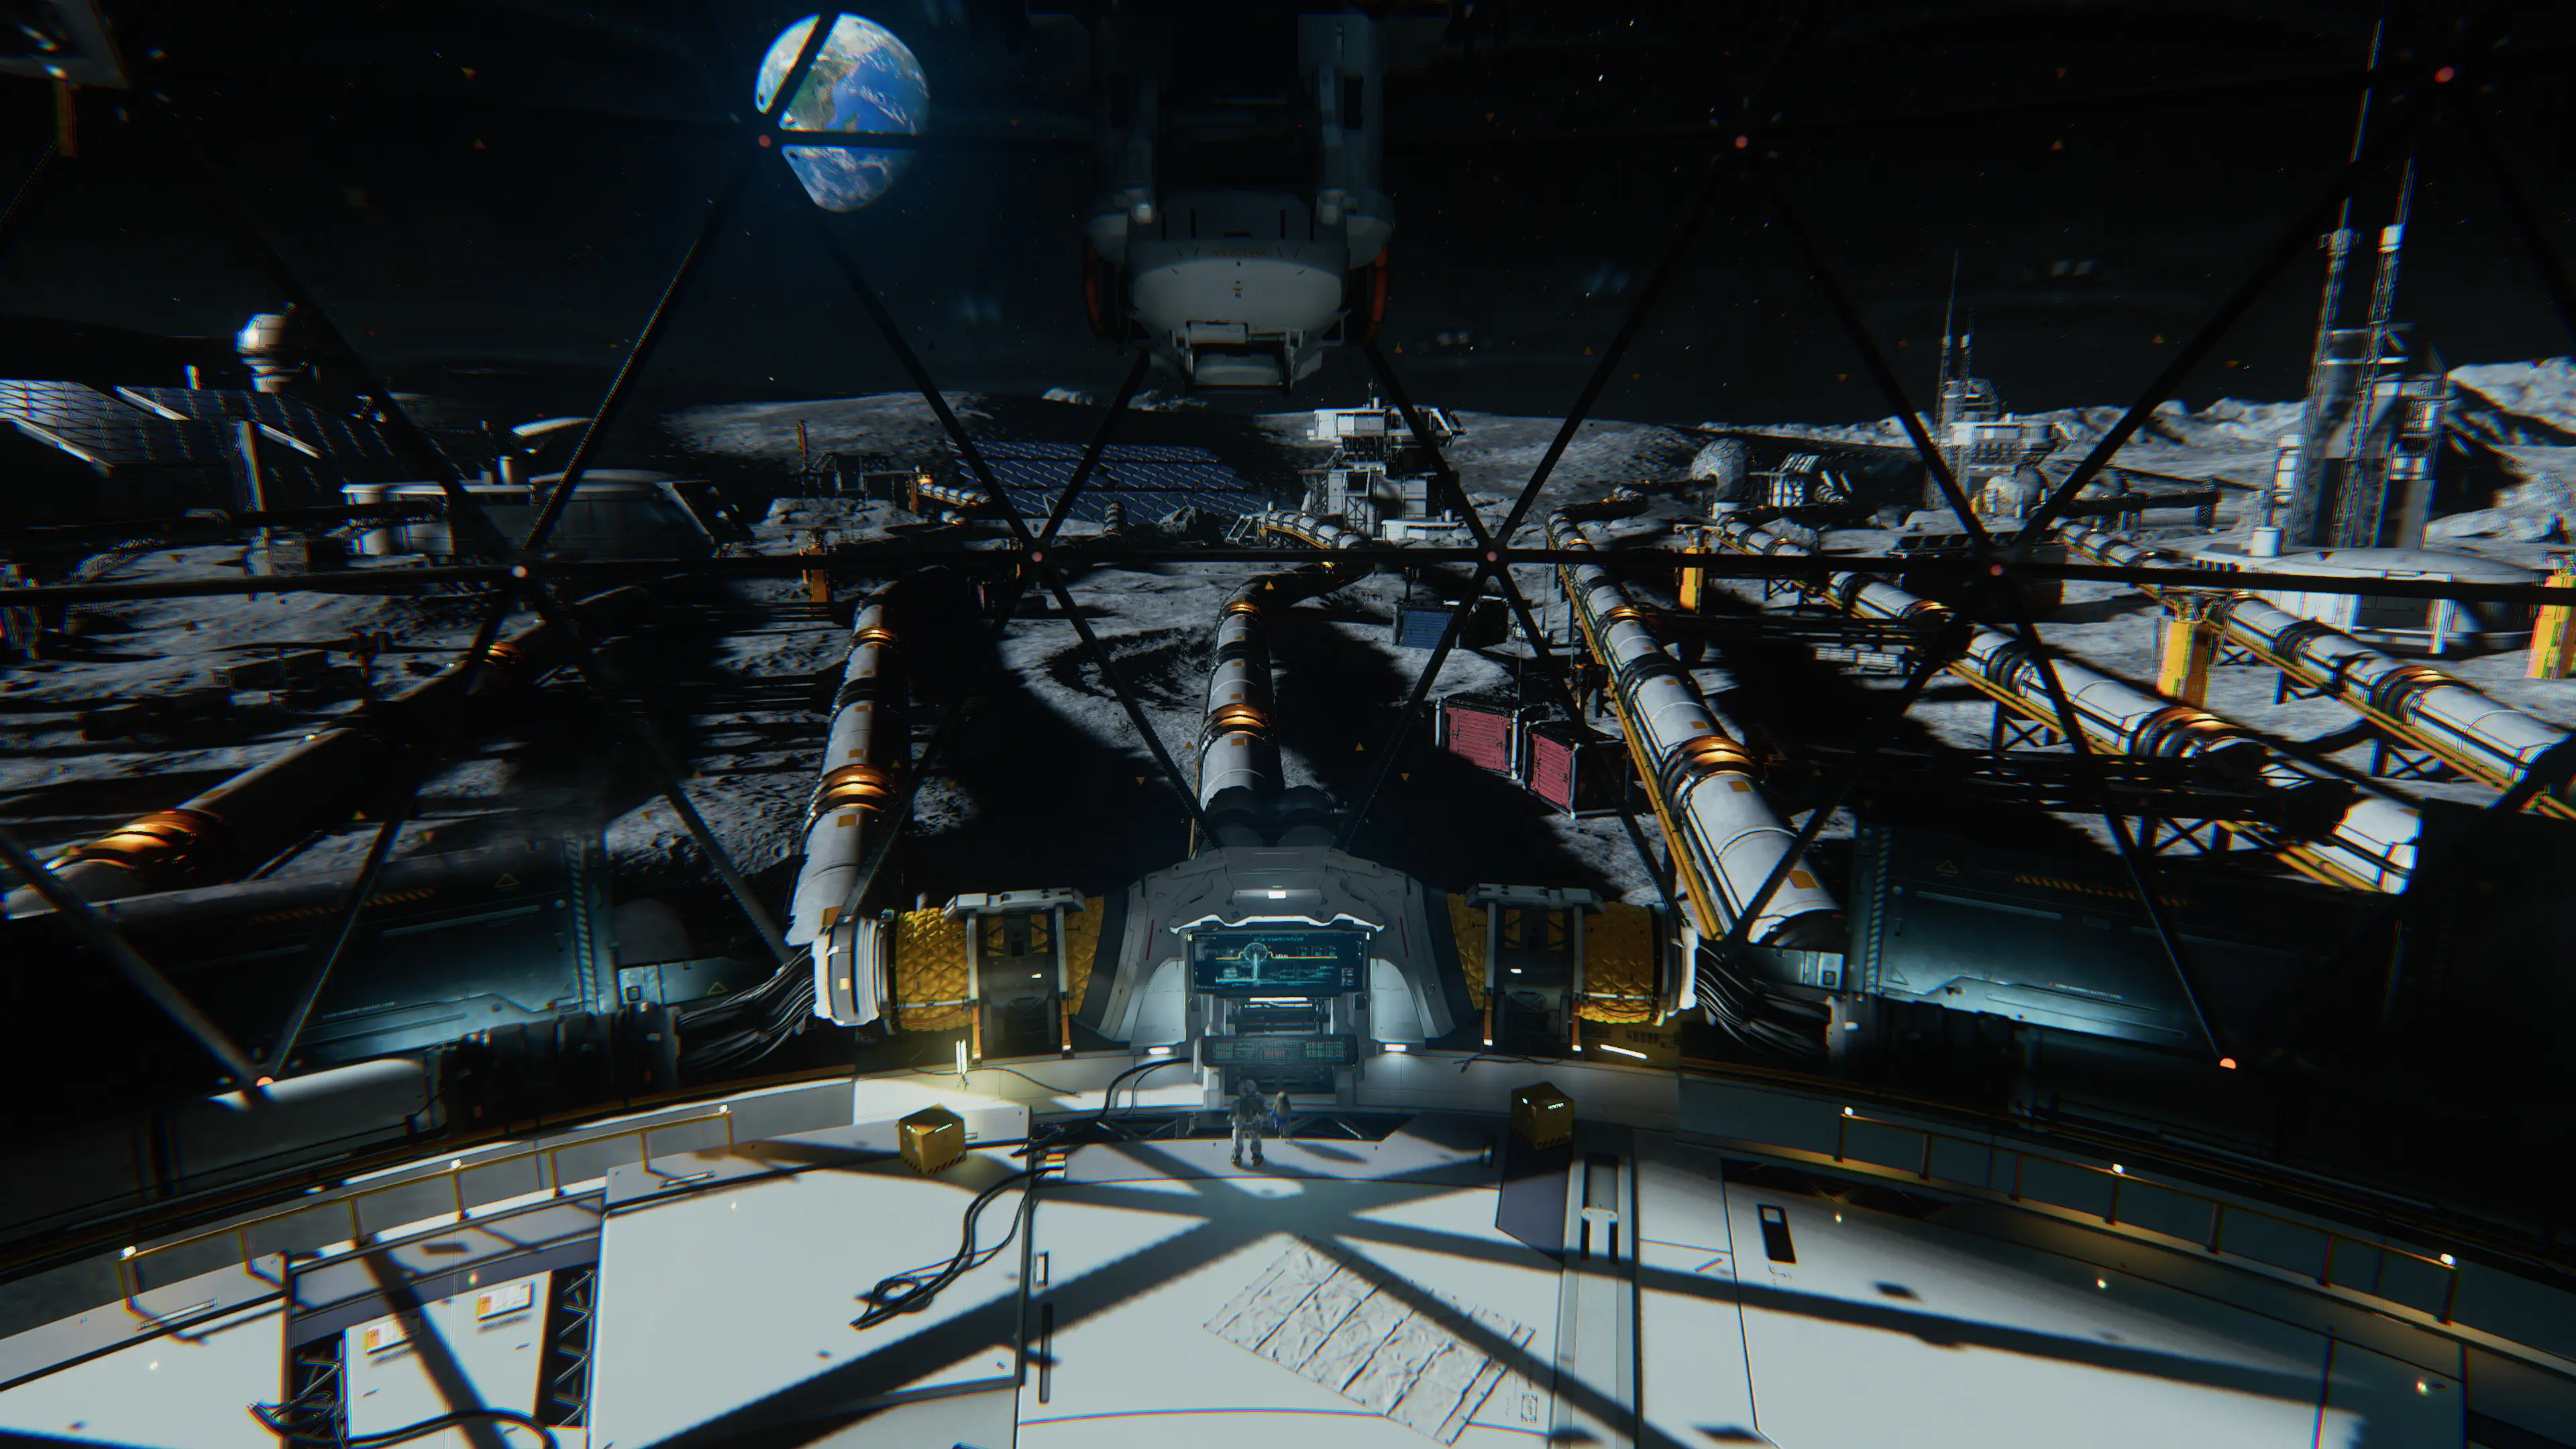
Pragmata Shelter Guide -- Upgrades & Features 2026
Your base of operations. All features explained with upgrade priority recommendations.
Upgrade Priority Order
- 1. Grip Gun upgrades (Equipment Upgrade Station) -- permanent weapon, every boost compounds
- 2. 3D Print: Multihack Node -- transforms group combat completely
- 3. 3D Print: Stasis Net -- most underrated weapon, essential for mid-game
- 4. Neural Link v2 for Diana (Equipment Upgrade Station) -- 25% faster hacking speed
- 5. Aero-Stabilizers for Hugh -- second mid-air dash for Sky High achievement
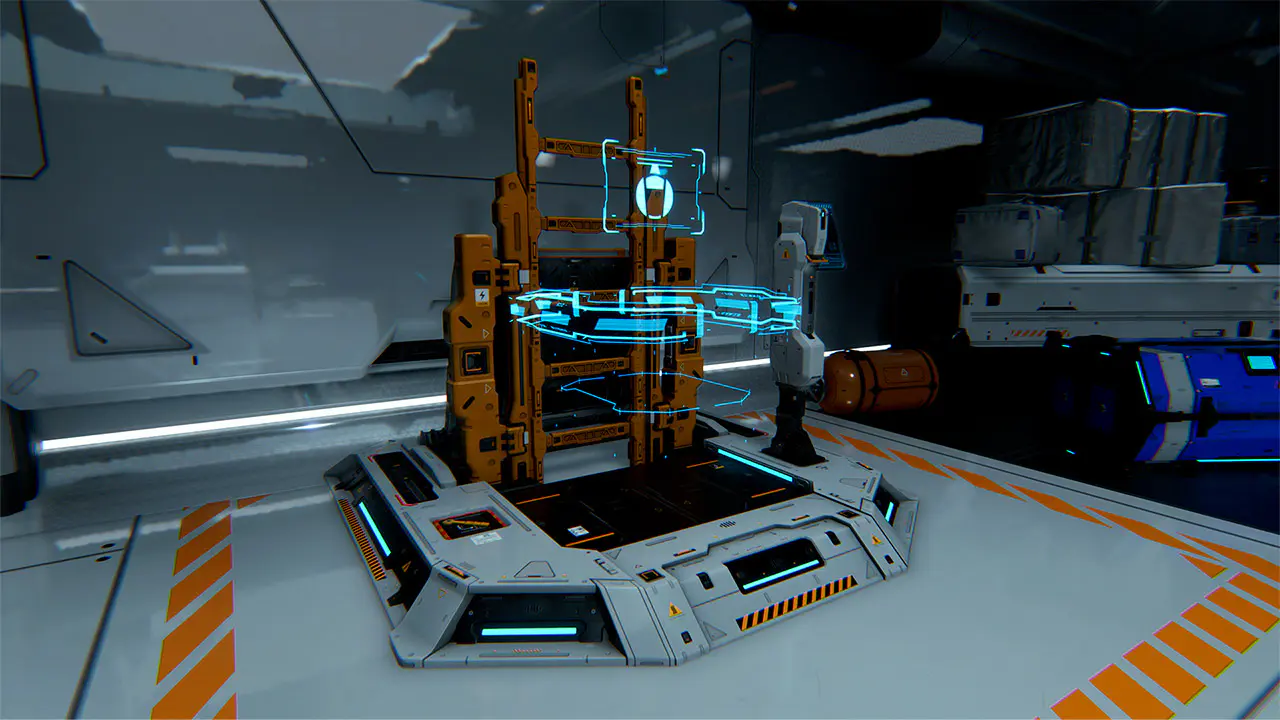
3D Printer / Equipment Upgrade
high priorityCustomize loadout, print weapons using blueprints, and upgrade weapon stats using collected resources: lunafilament (weapons), pure lunum (high-tier upgrades), upgrade components (firmware -- suit toughness, hacking damage), and data shards. Suit health is also restored here before heading out.
Unlock: Available from start
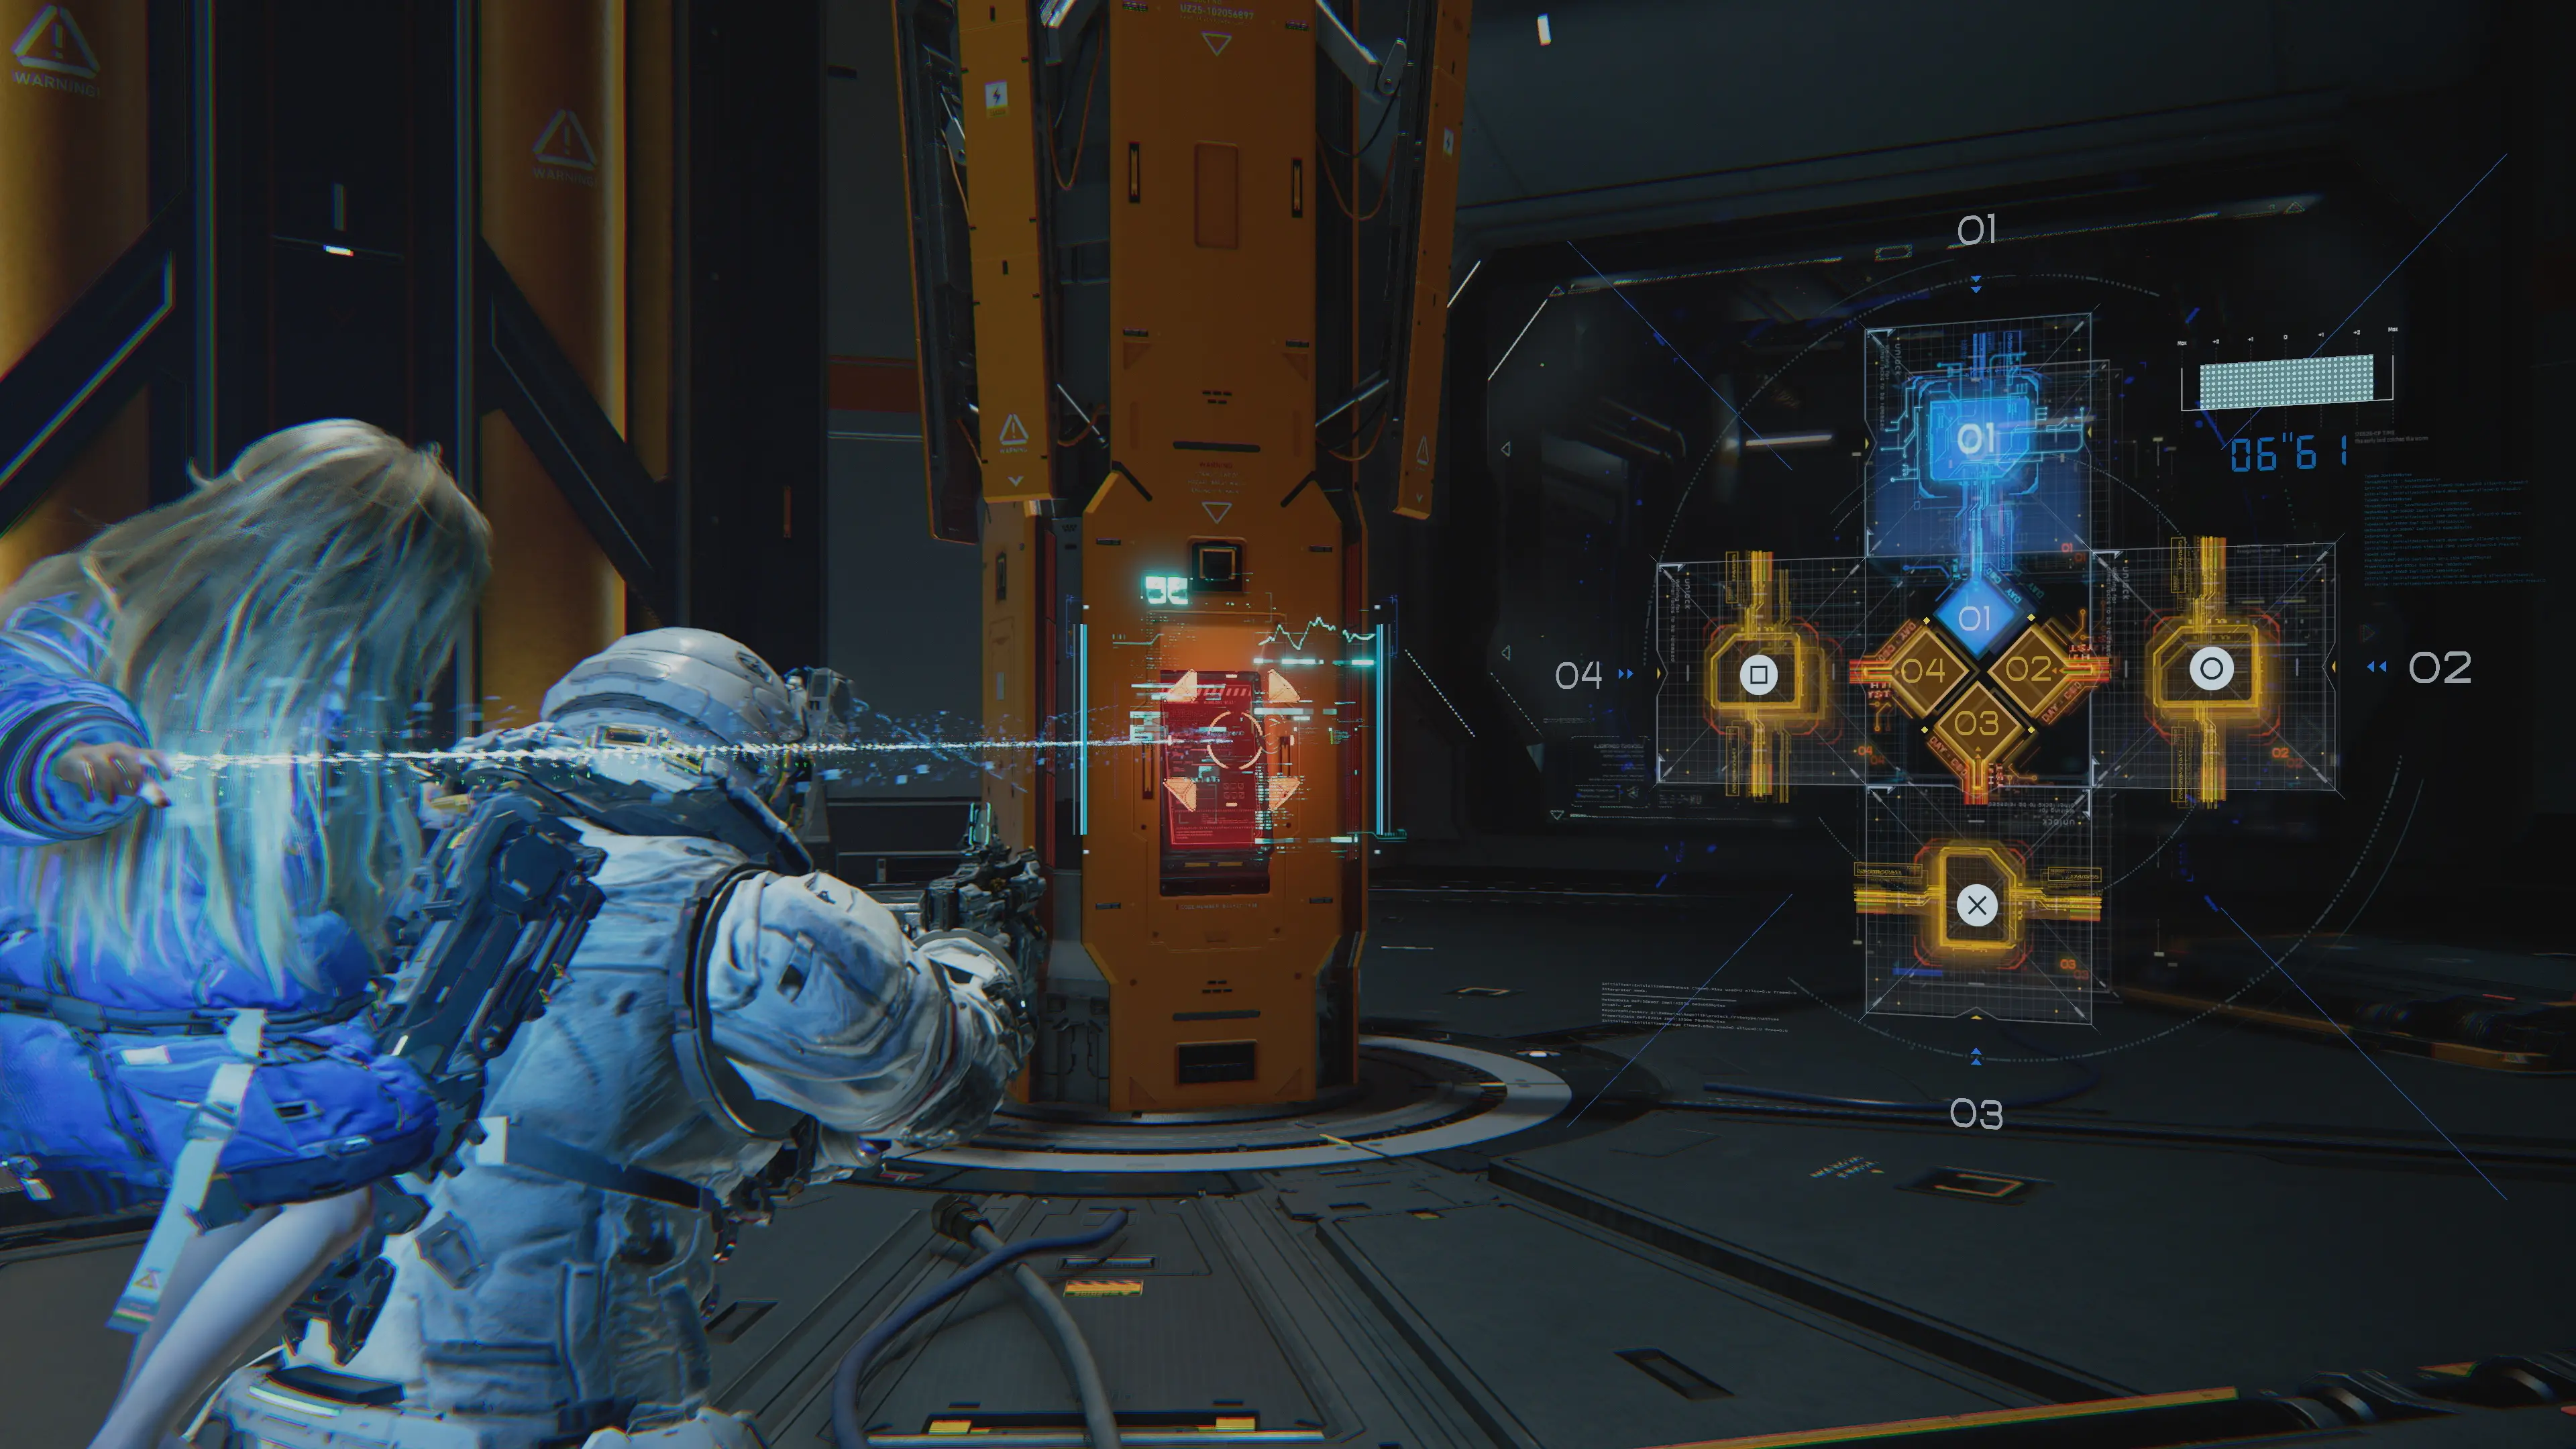
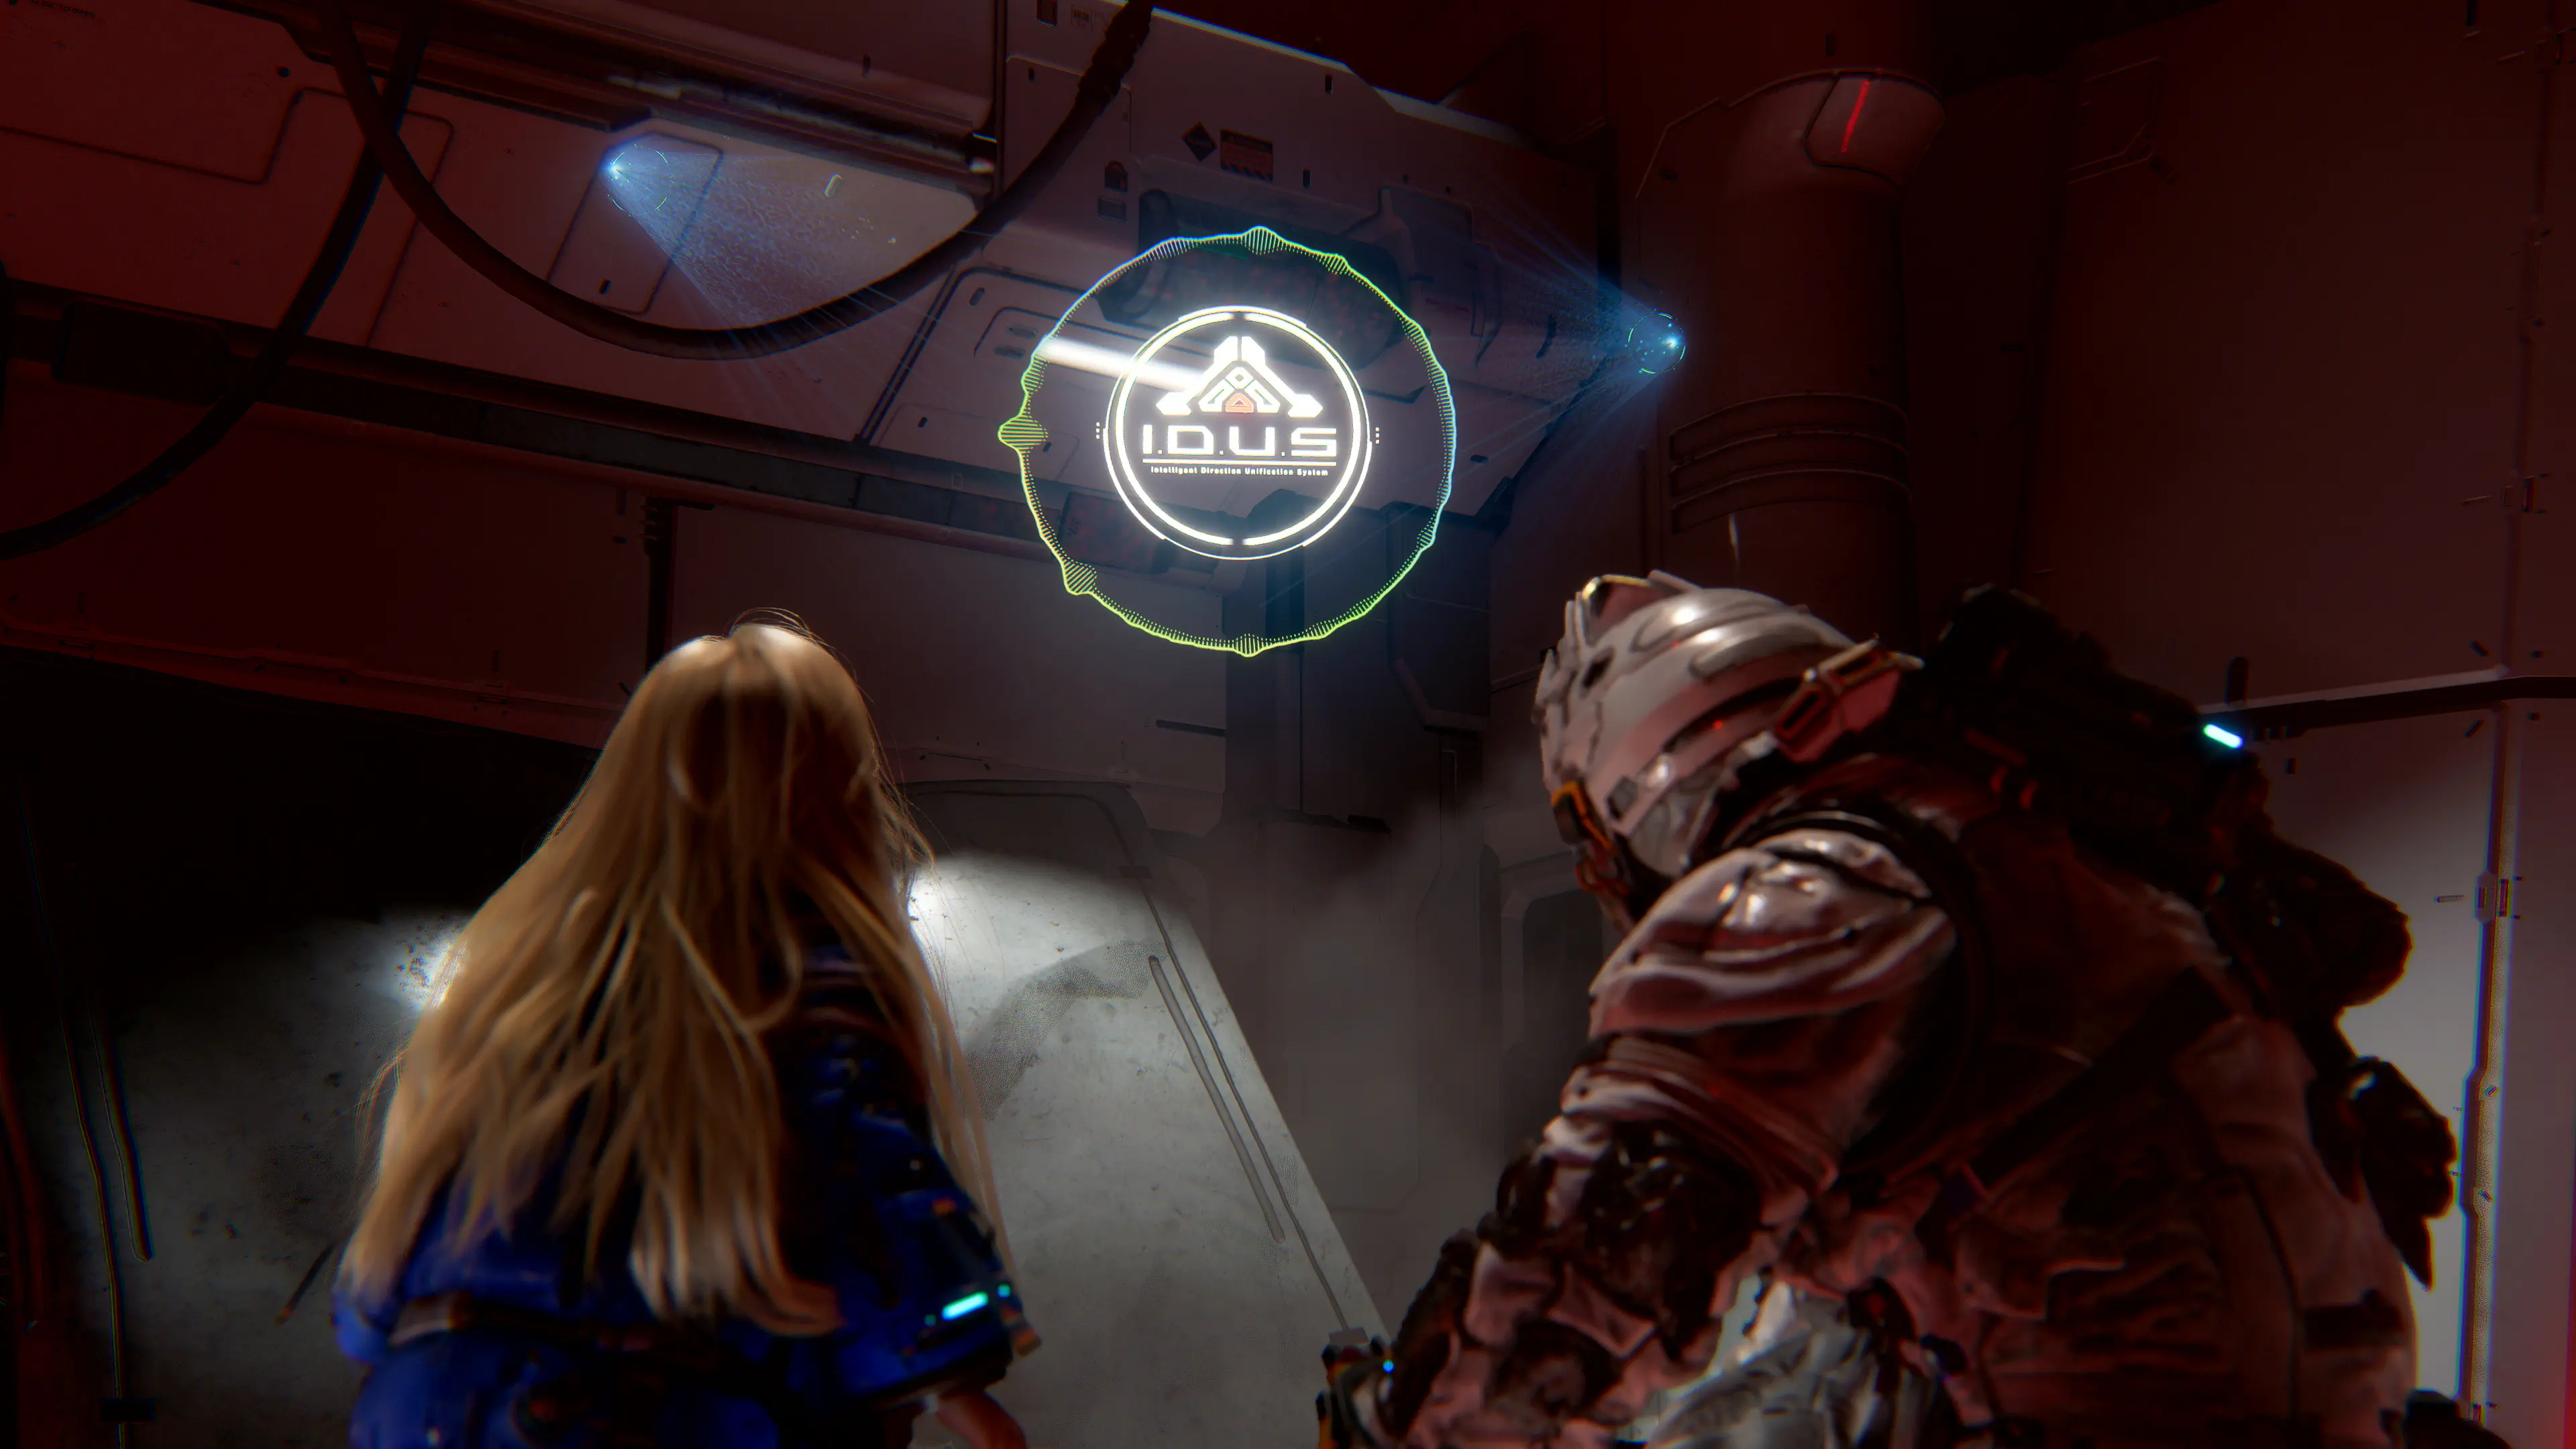
Hacking Mods (Equippable Grid Abilities)
high priorityEquippable mods that activate when Diana routes through specific nodes on the hacking grid. Confirmed effects include: stunning enemies, generating heat to expose them for a finishing move, and turning enemies against each other. Additional passive mods provide bonuses such as extra health, extended hack duration, or increased damage at the cost of health. Mods are found during exploration and unlocked progressively -- builds that lean toward hacking or toward shooting become viable once enough mods are acquired.
Unlock: Found during exploration; more powerful mods available in later biomes
Mission Prep Area
high priorityThe Shelter's loadout configuration area. Before heading into a sector, this is where you set your weapon loadout, equip mods, and select which sector to explore next. After dying, you must return through Mission Prep to reload back into your last checkpoint.
Unlock: Available from start
Death & Respawn System
high priorityWhen Hugh dies, the game does NOT return you to the nearest checkpoint. Instead, it sends you back to the Shelter, requiring you to go to the Mission Prep area and manually reload back into the last checkpoint. This is a notable quality-of-life consideration especially in boss fights.
Unlock: Core game mechanic (always active)

Cabin (Support Robot)
medium priorityA friendly independent support robot stationed in the Shelter. Provides tactical hints, manages the 5 Bingo Sheets, and exchanges Cabin Coins for stamps. Stamps fill Bingo Sheet squares -- get a bingo, triple bingo, or full blackout for increasingly valuable rewards including new outfits for Hugh and Diana, and Bot Database entries.
Unlock: Available from start
5 Bingo Sheets
medium priorityFive separate Bingo Sheets managed through Cabin. Fill squares by completing in-game challenges. Rewards scale by completion tier: single bingo (small reward), triple bingo (medium), full blackout (best). Rewards include new outfits for Hugh and Diana, and Bot Database data entries.
Unlock: Accessible via Cabin from early game
REM (Read Earth Memories)
medium priority3D-printed toys and Earth entertainment items hidden throughout all five biomes. Objects and scenes from Earth: camping spots, beaches, playground equipment for Diana to use. Gifted to Diana at the Shelter to help her learn about human children's lives on Earth. Each gift unlocks new dialogue and builds the Hugh-Diana relationship. Diana will occasionally draw pictures as a thank-you. Cabin Coins are awarded when gifting Diana REMs. (AltChar review + GamesRadar review, April 2026)
Unlock: Found throughout all five biomes
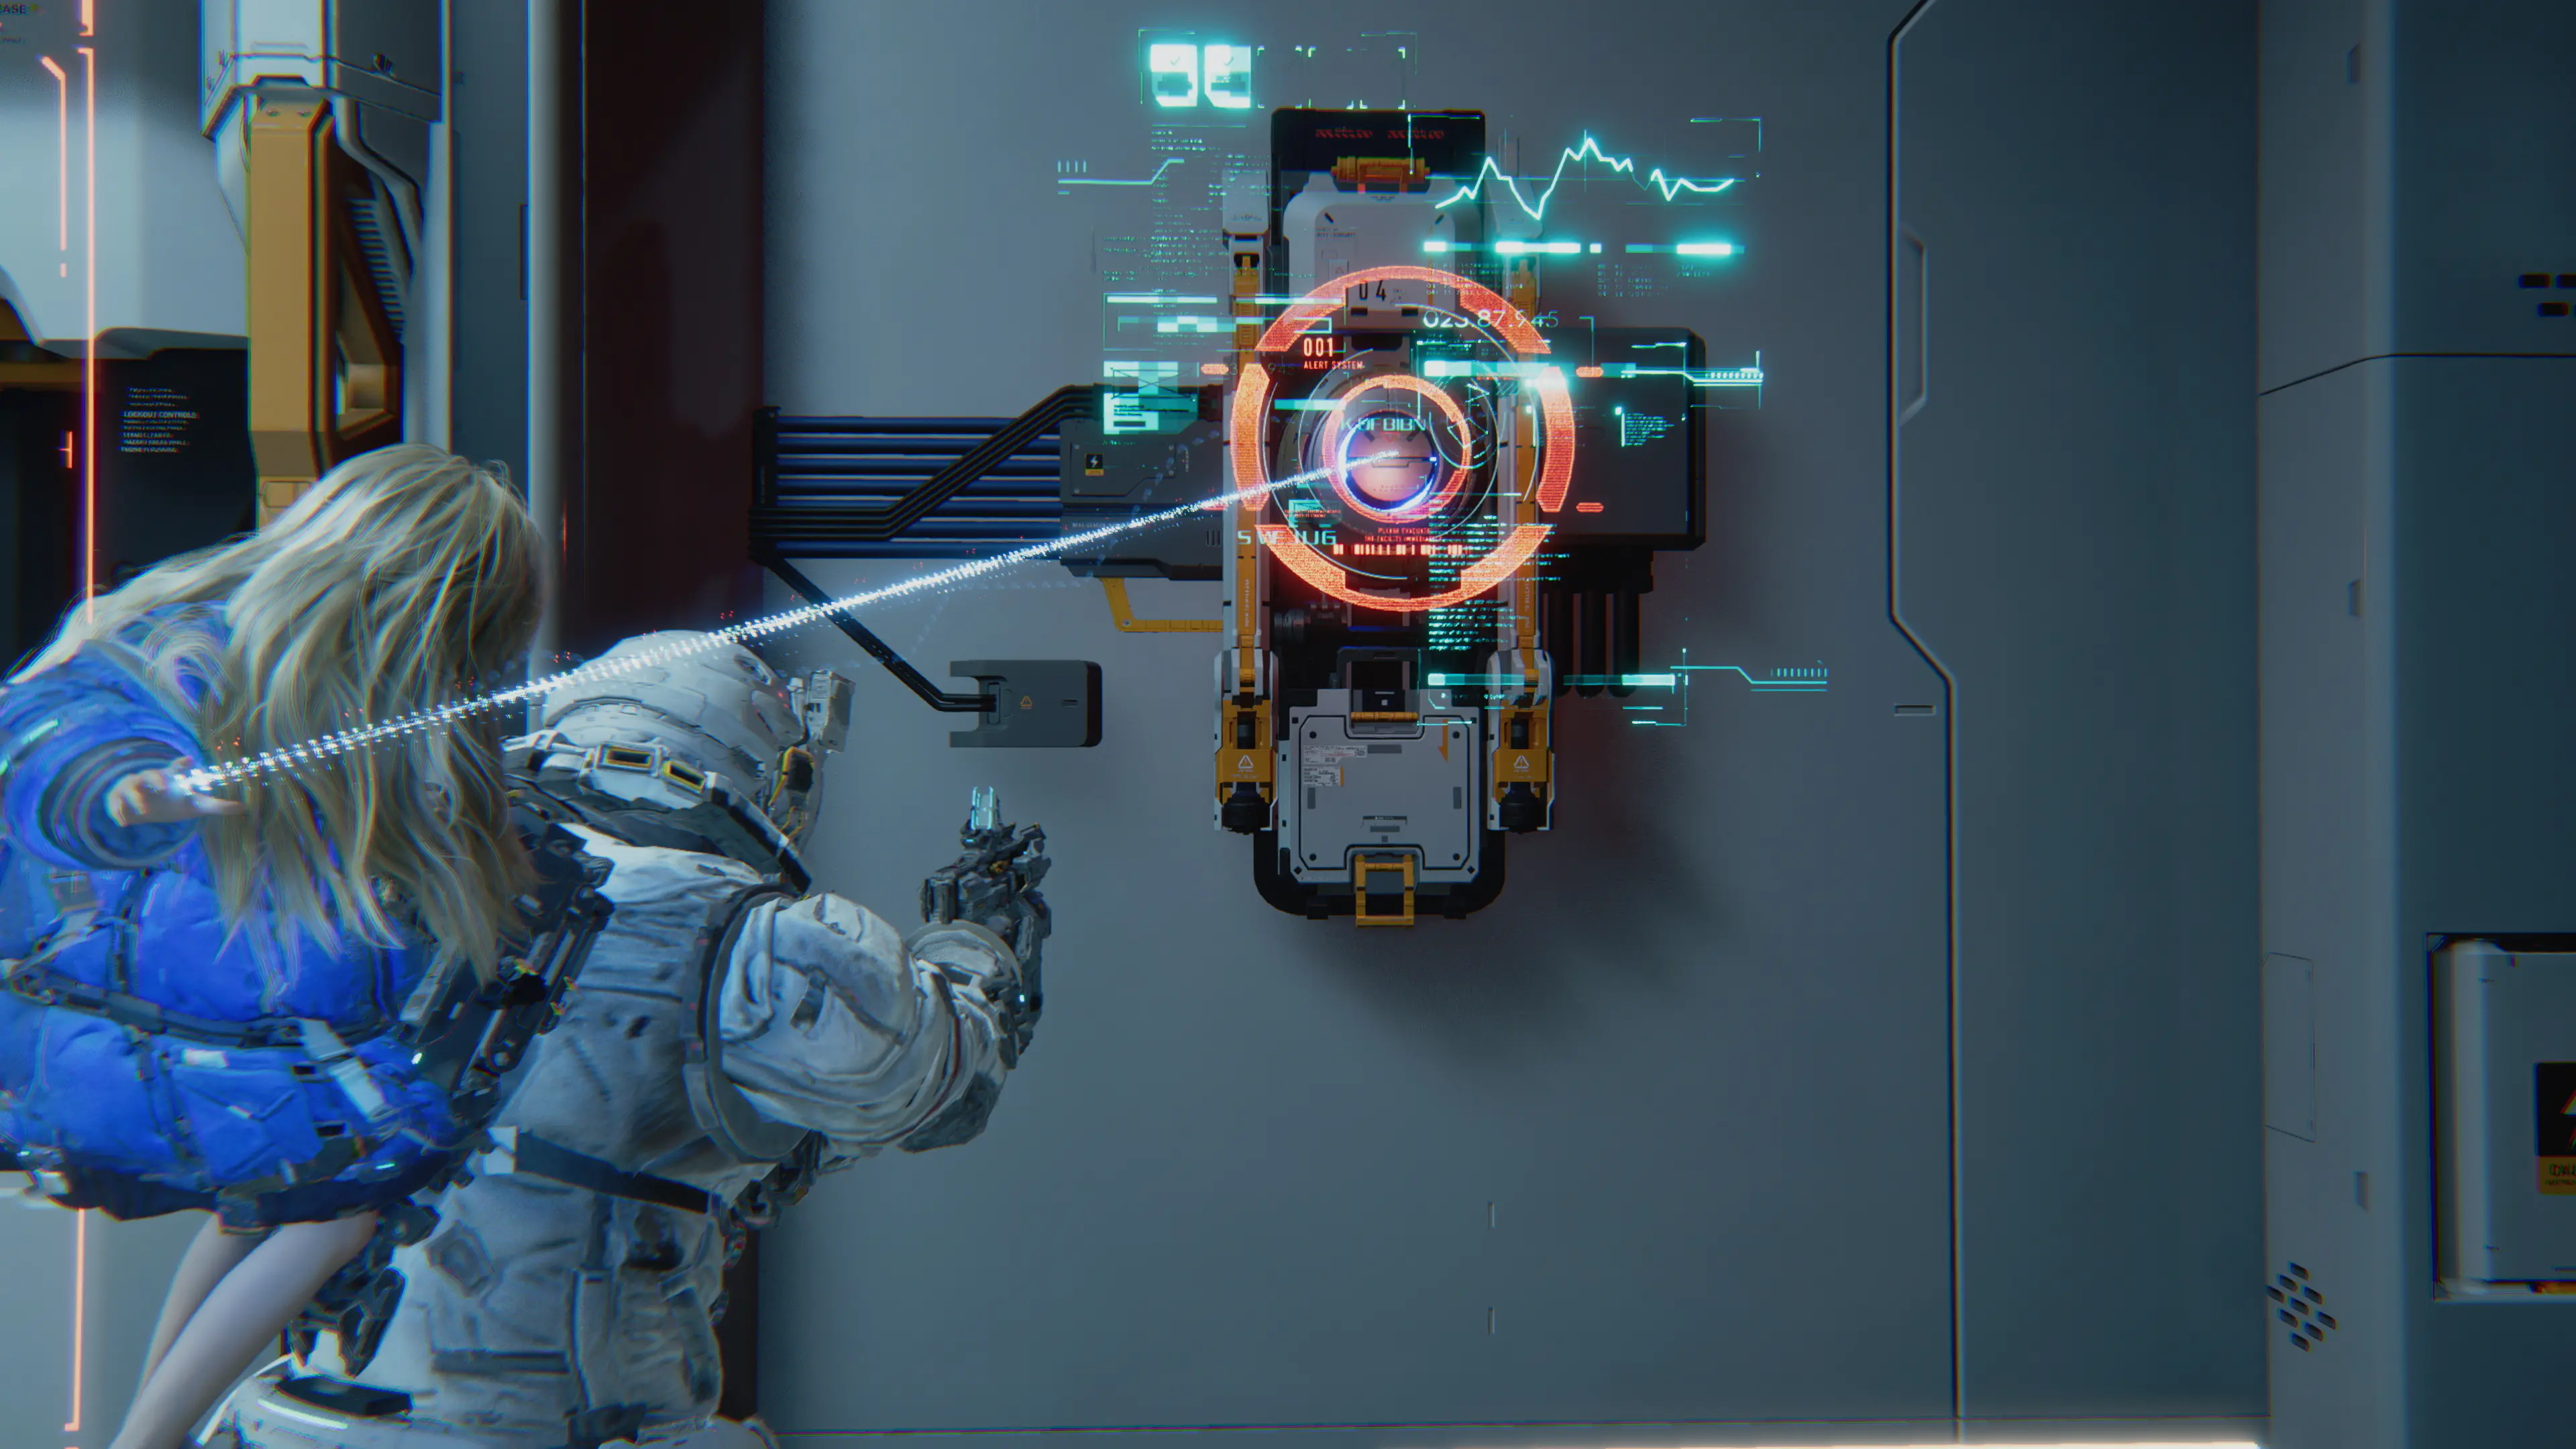
Escape Hatches
high priorityCheckpoint network throughout the facility. Each hatch must be activated by having Diana hack it. Once active, they serve as checkpoints AND fast-travel points back to the Shelter. Note: death does not return you to the nearest escape hatch automatically -- you return to the Shelter and must re-enter via Mission Prep.
Unlock: Activate by having Diana hack each hatch
Red Gate Challenge Arenas
medium priorityLocked combat arenas accessed with Red Gate Keys. Contain challenging encounters with high-value loot rewards. Keys are a confirmed currency in the game (GamesRadar).
Unlock: Requires Red Gate Keys found while exploring
Simulation Missions
medium priorityOptional training missions at the Shelter. Preview offensive techniques and enemy quirks before facing them in the main biomes. Also a source of Cabin Coins when completed with specific winning conditions (GamesRadar + IGN confirmed).
Unlock: Unlocked progressively as you advance
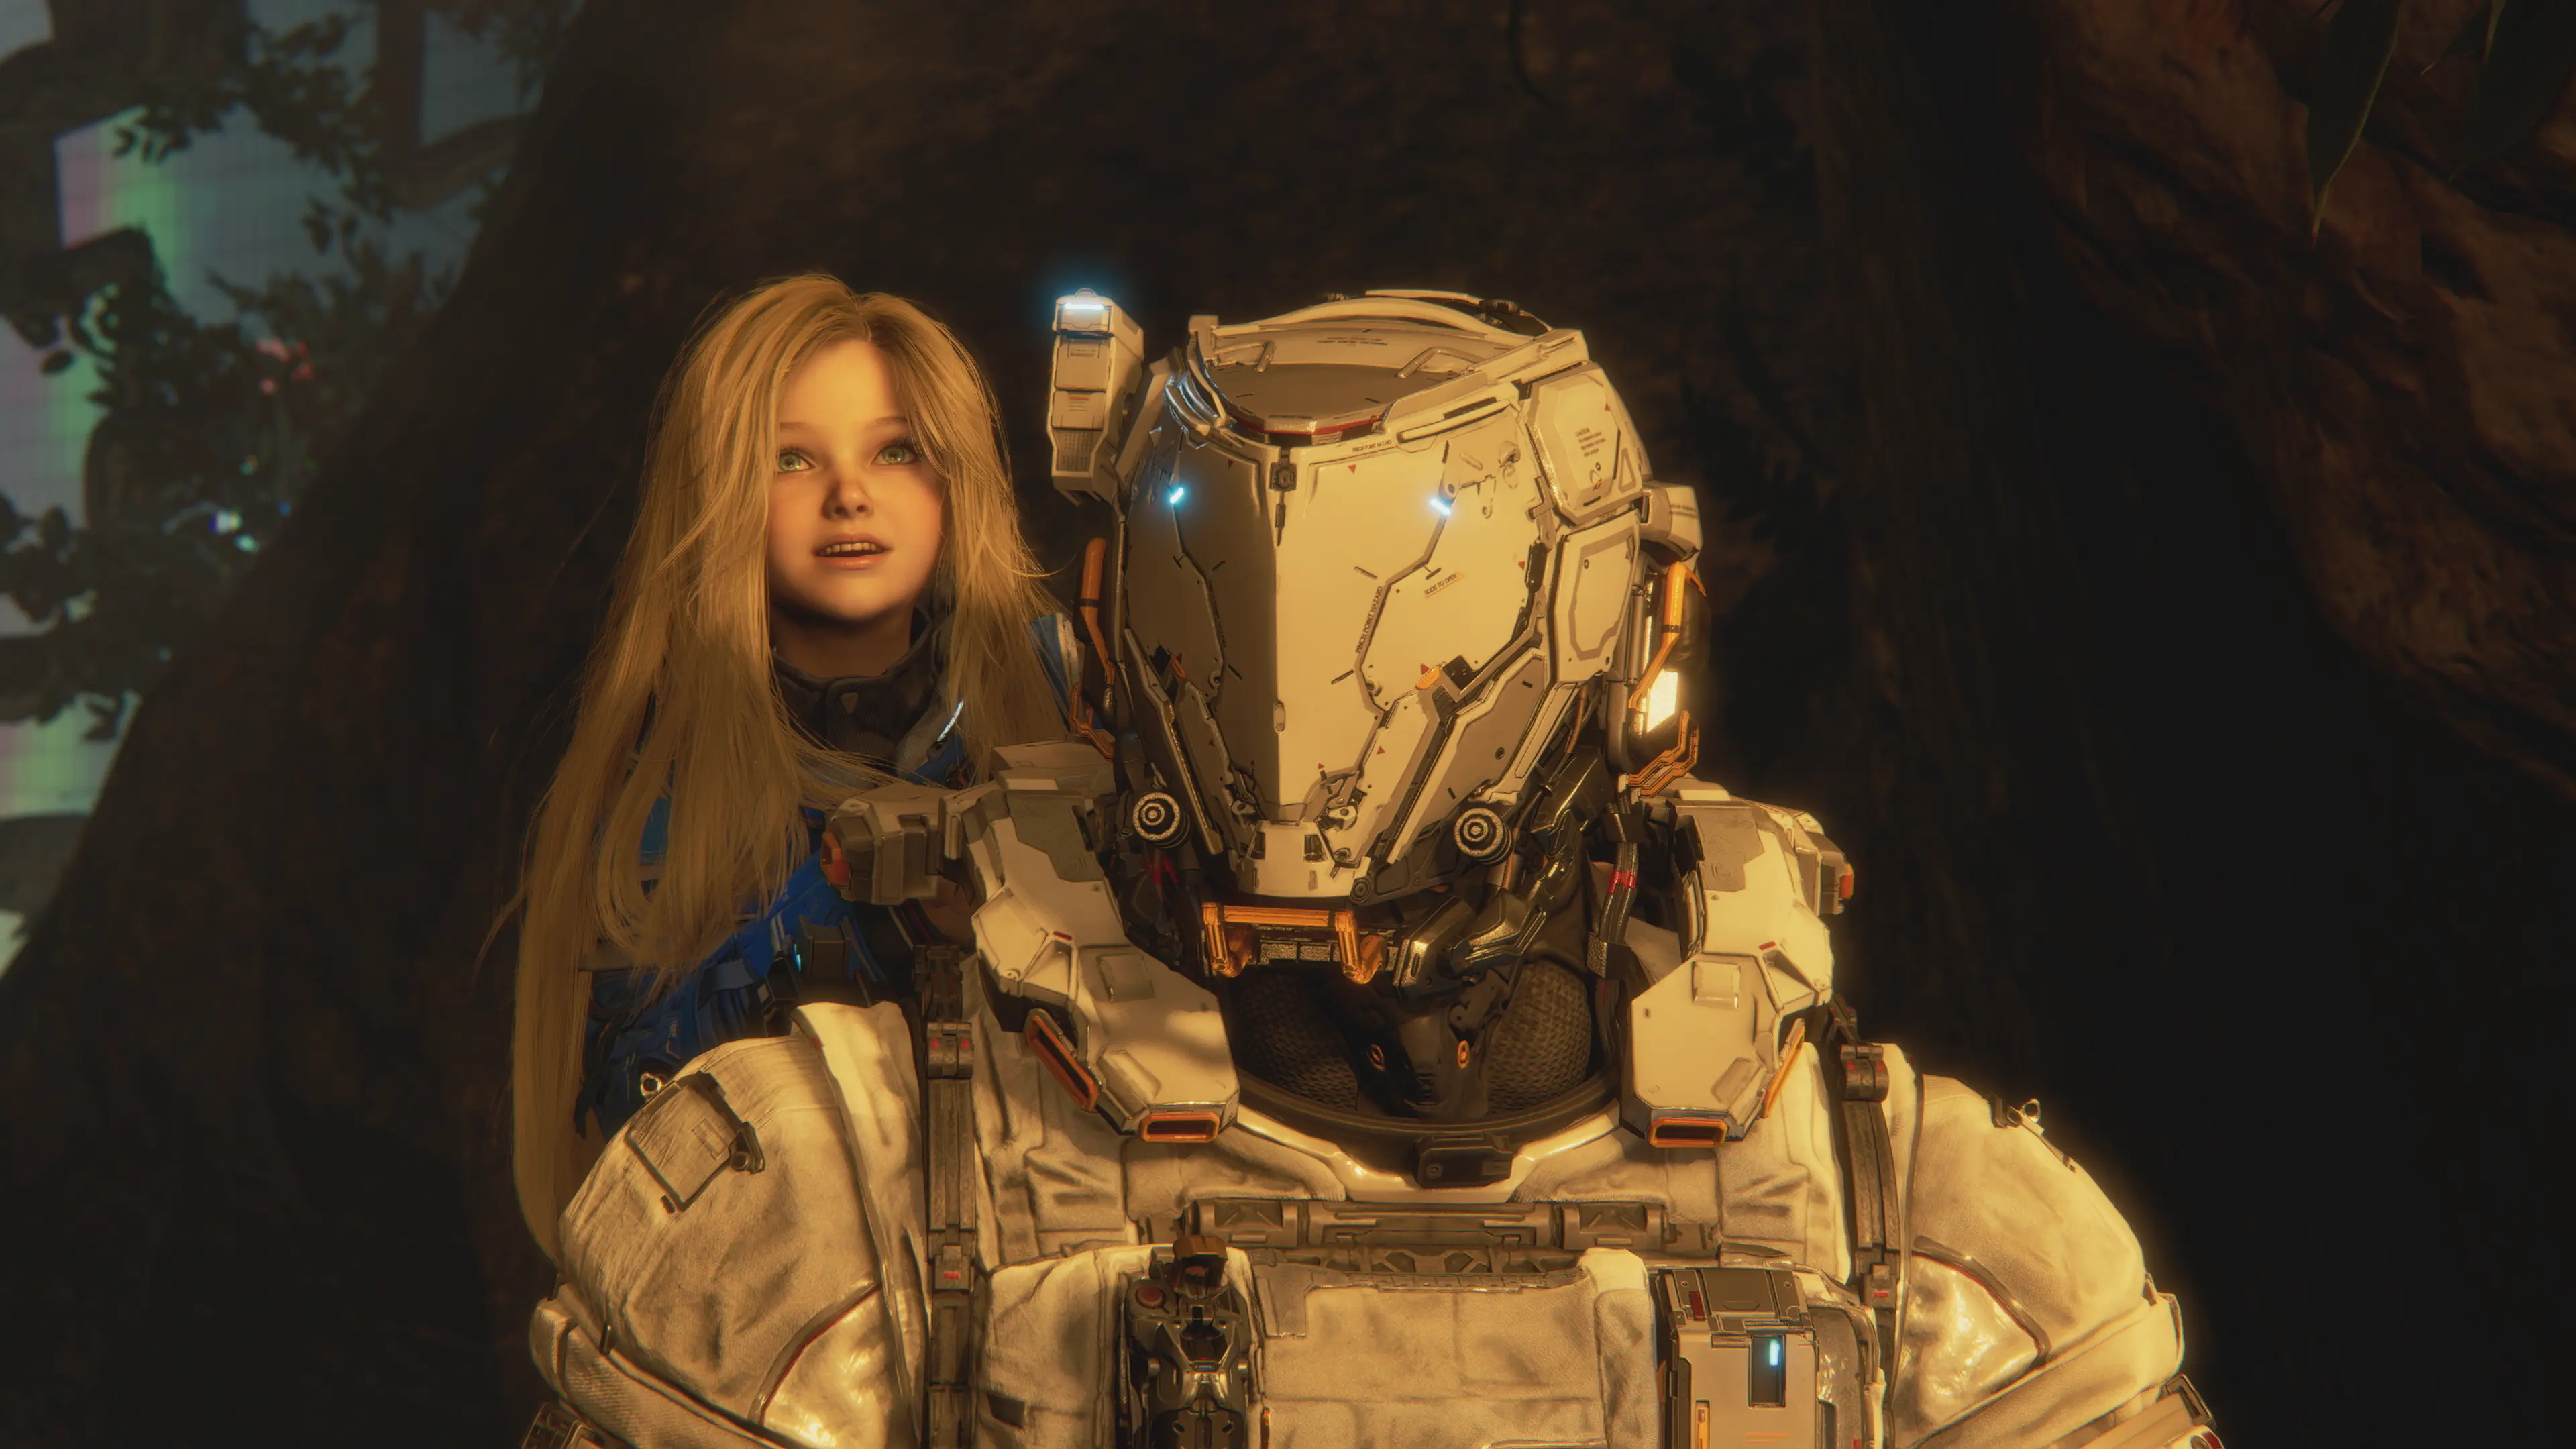
Diana Shelter Interaction
low priorityTalk to Diana between missions to build the story relationship and unlock new dialogue. Diana will eventually challenge Hugh to hide-and-seek, and draws pictures as thank-you gifts for REMs. The hub gradually fills with playground equipment, balloons, and little touches of Earth -- Eurogamer describes the Shelter's growing signs of life (skateboards, basketballs, toys) as one of the game's highlights. AltChar notes the moment Diana gives a drawing in return for REMs as genuinely moving. (AltChar review + Eurogamer review, April 2026)
Unlock: Unlocked progressively through story
Healing Pods (Medkits)
high priorityHugh can only restore health using special healing pods found throughout The Cradle. These pods have a limited charge and must be recharged each time you return to the Shelter. Unlike typical FPS games, health does NOT regenerate passively -- every point of health lost requires a pod to restore. (MP1st review, April 2026)
Unlock: Available from start
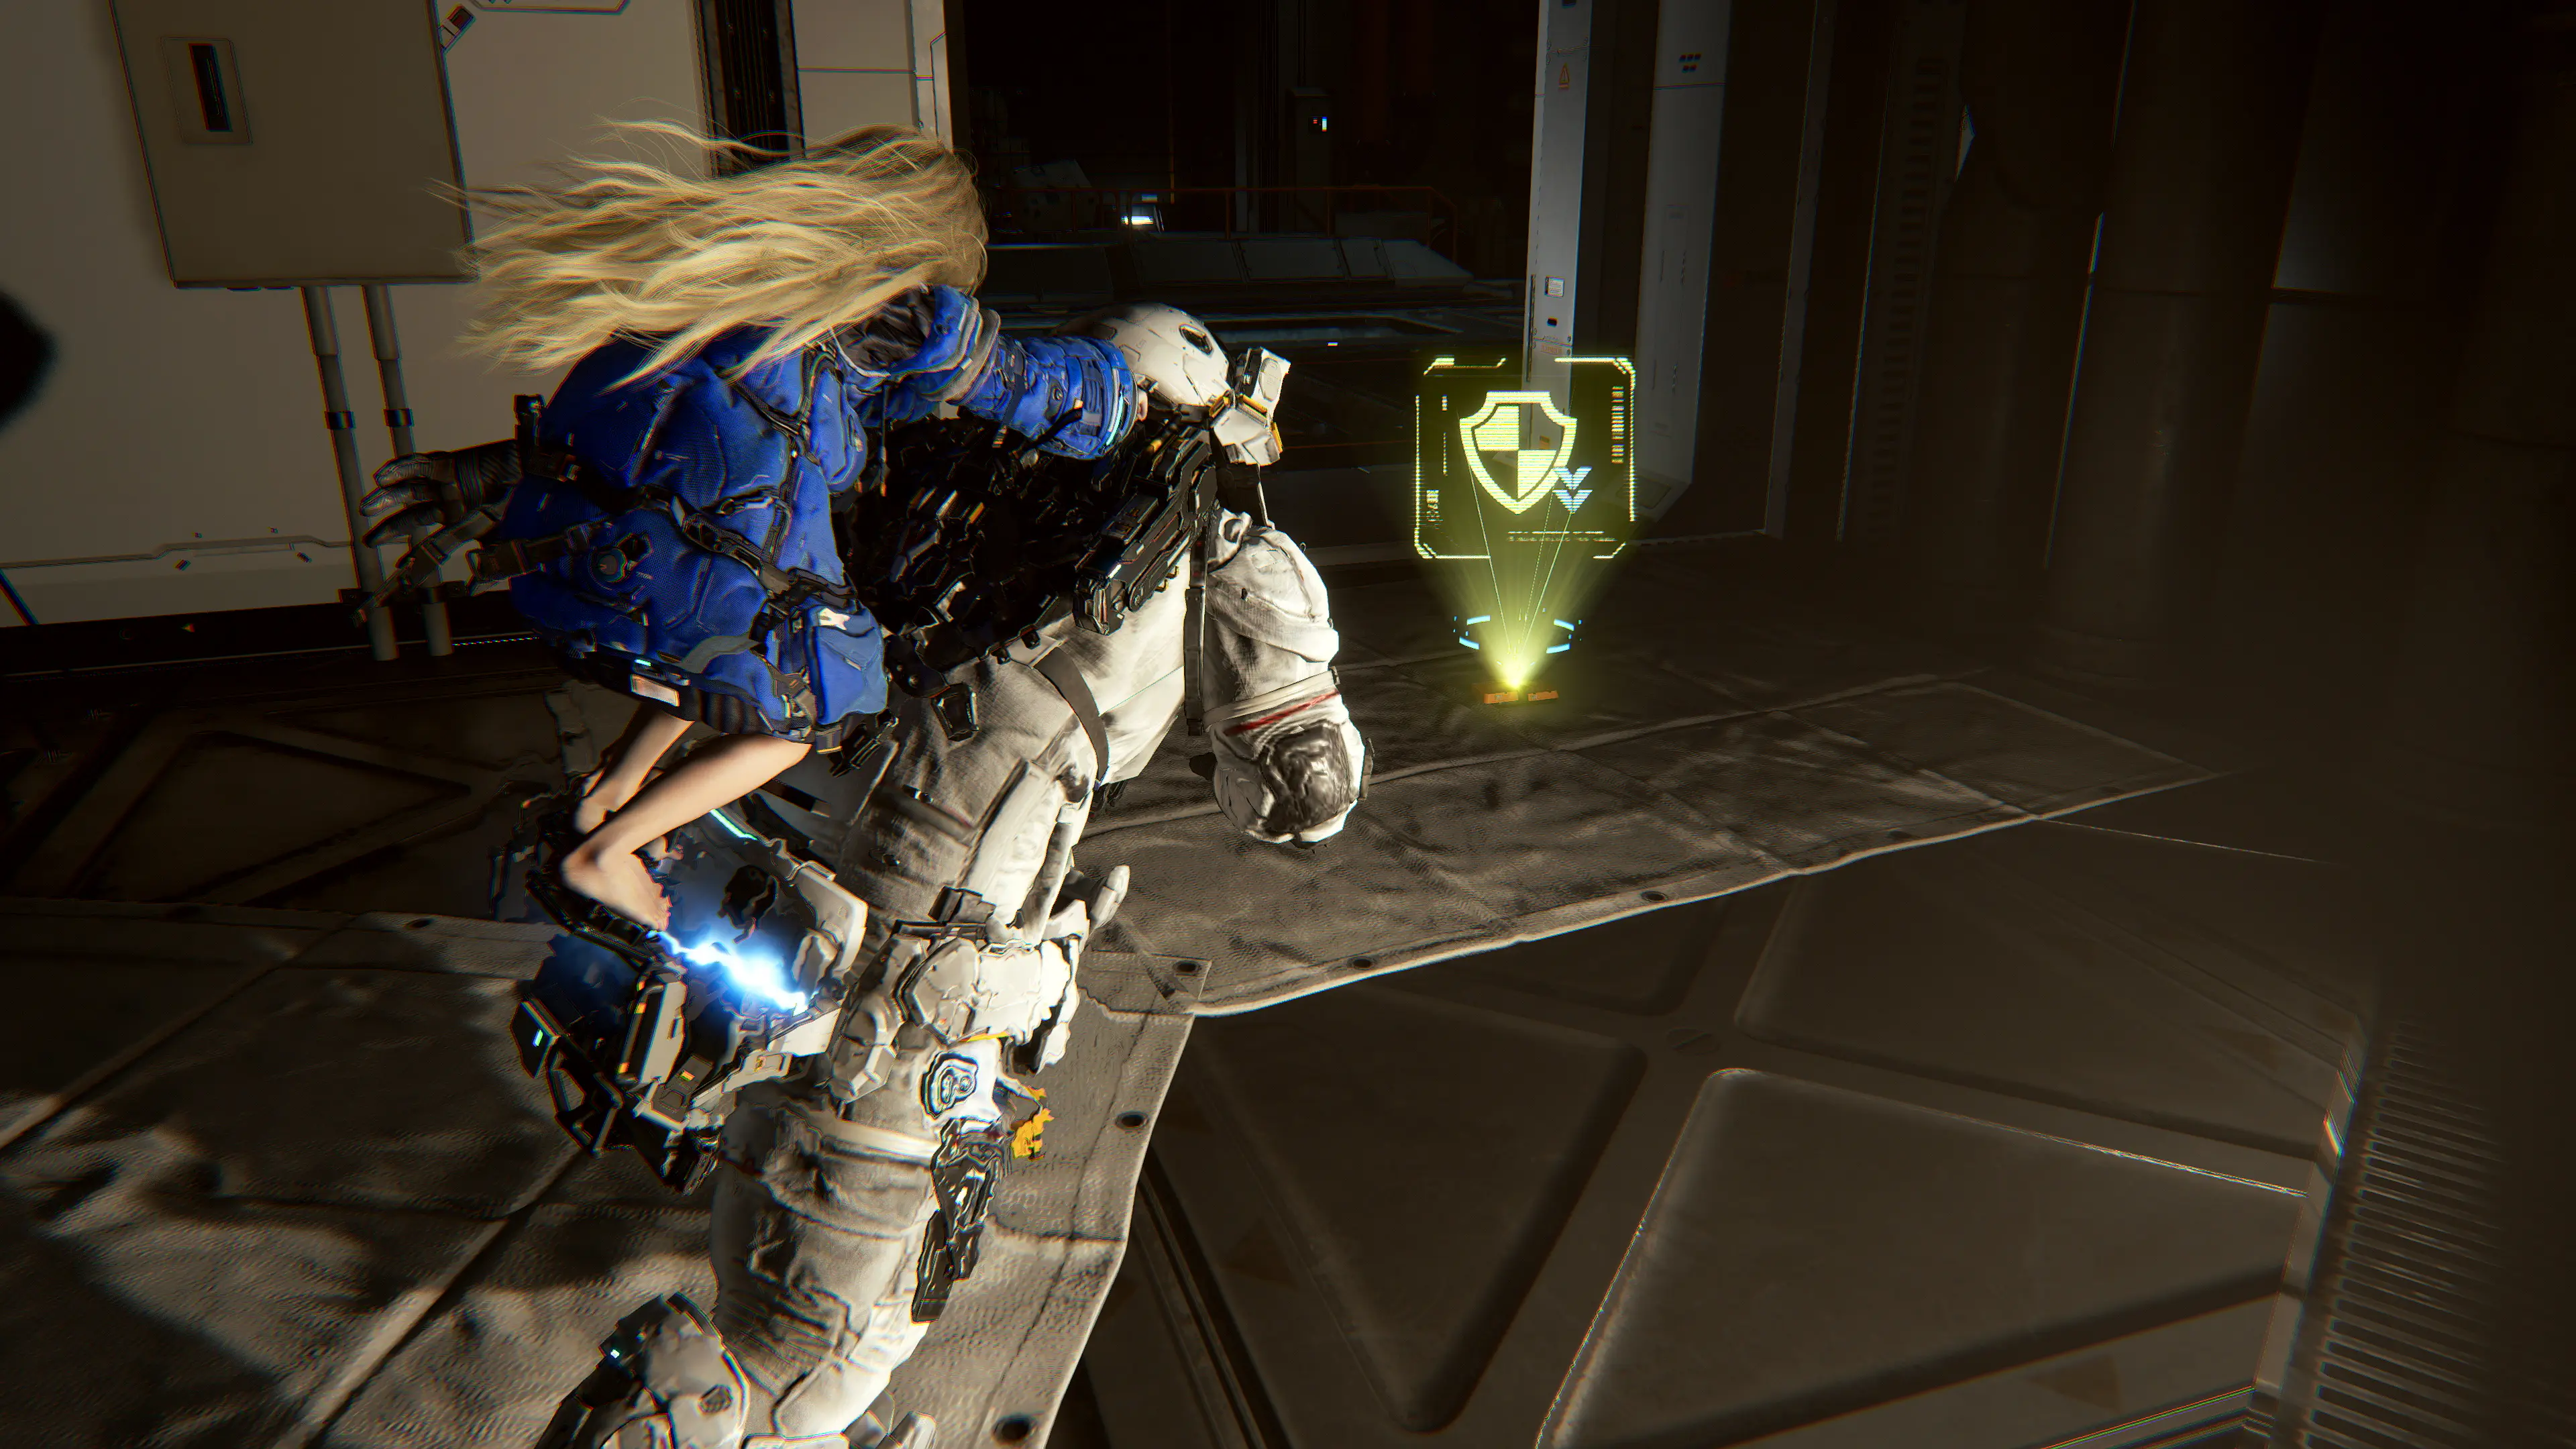
Enemy Reset (Soulslike Mechanic)
medium priorityWhen you return to the Shelter via the tram system, all enemies in previously visited sectors are fully reset and respawn. This is a deliberate Soulslike-style design choice. On the positive side: enemies respawning means farming upgrade materials is always possible. On the negative side: backtracking into cleared biomes will require fighting through enemies again. (MP1st review, April 2026)
Unlock: Core game mechanic (always active)
Bingo Board & Collectibles
Cabin Bingo Board
The Bingo Board is a reward grid unlocked through Cabin. Spend Cabin Coins to fill squares -- completing lines (horizontal, vertical, or diagonal) unlocks bonus rewards. More complete lines = better loot.
Cabin Coins
Primary Bingo Board currency. Found in exploration side rooms, hidden caches, and rewarded for completing optional objectives. Spend at the Bingo Board for squares.
Earth Toy Replicas
Small collectible toys for Diana to play with in the Shelter. Found in locked side rooms and optional areas. Each new toy triggers unique Diana dialogue.
Micro Sculptures
Miniature statues scattered through the facility. Displayed in the Shelter after collection. Complete the full set for the Old Earth Relics achievement.
Red Zone Challenges
Special combat arenas locked behind Red Zone Keys found during exploration. Clearing a Red Zone unlocks specific Bingo Board squares that are otherwise permanently locked.
- >Require a Red Zone Key to enter -- do not miss keys on exploration routes.
- >Wave-based combat against high-difficulty enemy groups.
- >Reward: Bingo Board square unlock + rare collectibles.
- >Can be retried if failed -- keys are not consumed on failure.
Editions & Shelter Pack DLC
Standard Edition -- $59.99
- >Full base game
- >5 chapters + all post-game content
- >Early Purchase Bonus (limited time): Hugh "Neo-Bushido" outfit + Diana "Neo-Kunoichi" outfit
Deluxe Edition -- $69.99
Includes base game + Shelter Comprehensive Pack:
- >Diana outfit "Fluffy" + Hugh outfit "Moon Cat"
- >Diana outfit "Mechanic" + Hugh outfit "Carrier"
- >3x Shelter BGM tracks
- >3x Diana exclusive animations
- >Grip Gun DS weapon skin (Delphi Corp style)
- >75 original artwork images
Frequently Asked Questions
What should I upgrade first in Pragmata's Shelter?
Priority order: (1) Grip Gun upgrades -- your only infinite weapon. (2) Print the Multihack node -- transforms group combat. (3) Print the Stasis Net -- most underrated weapon. (4) Neural Link v2 for Diana -- 25% faster hacking speed.
How do Escape Hatches work in Pragmata?
Escape Hatches are checkpoints scattered through the lunar facility. They are NOT automatically active -- you must have Diana hack each one (hold L1) to activate it. Once active, dying teleports you back to the nearest active hatch. Always activate every hatch you find.
What can you 3D print at the Shelter?
The 3D Printer lets you print weapons and Hacking Nodes using blueprints found in the field. Once a blueprint is found, that item is permanently available to print using Lunafilament materials. Items can also be upgraded multiple times at the Equipment Upgrade Station.
What does the Cabin robot do in Pragmata?
Cabin is a friendly support robot in the Shelter. It provides mission hints, marks nearby Lunafilament clusters on your map, and sometimes reveals hidden upgrade terminals. Talk to it after each chapter -- it has new information each time.